
Changing the air conditioning filter of your home is an important task for ensuring that the air inside your house remains healthy and clean. A clogged-up filter can lead to poor indoor air quality, higher energy bills, and a strained cooling system. Check out the suggested steps by the Electrician Woonona specialist to ensure your air conditioning filter is replaced correctly and frequently.
Luckily, changing the air conditioning filter isn’t too difficult or time-consuming—all you need to do is follow these easy steps! Electrician Woonona
Step 1: Identify Your Filter Type
The first step in changing your air conditioner’s filter is identifying what type of filter it requires. Different types of filters may require different sizes or materials depending on the make and model of your unit. You can look up this information online by searching for the “Owner’s Manual” for your air conditioning system.

Step 2: Buy the Right Filter
Once you know what type of filter your unit requires, it’s time to purchase a replacement. Make sure that you buy the correct size and material for your specific model; if in doubt, consult with an HVAC professional. It’s also important to check the MERV (Minimum Efficiency Reporting Value) rating on the filter package—a higher MERV rating indicates better filtration power.
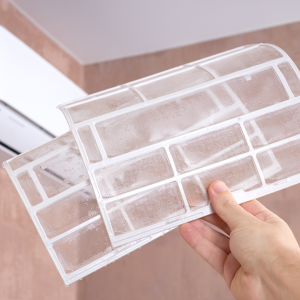
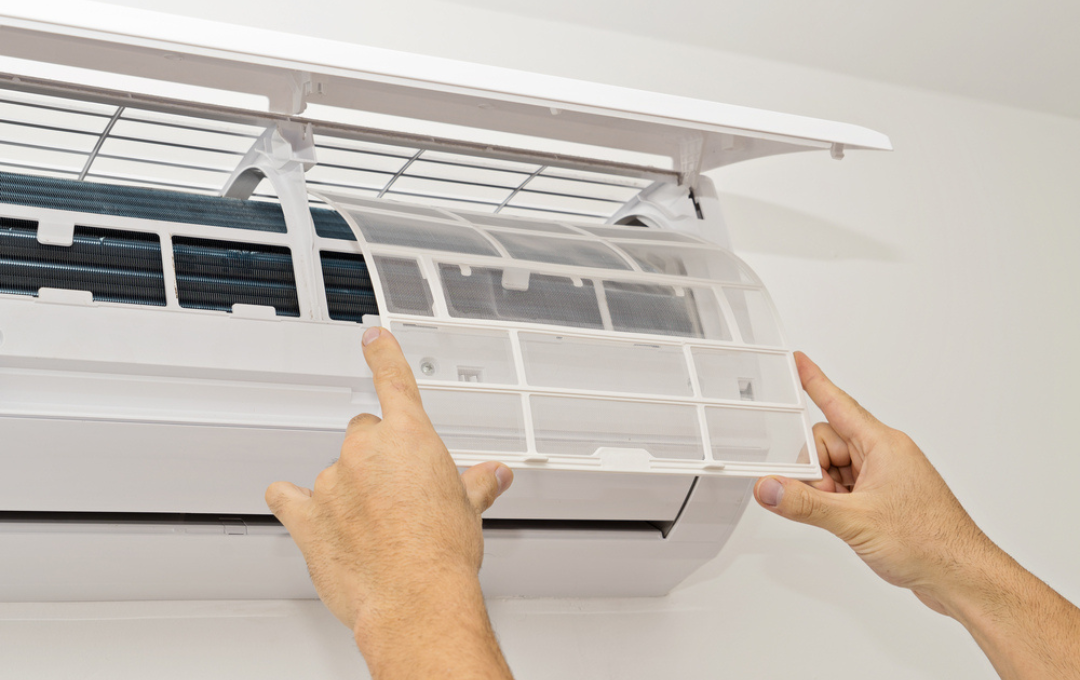
Step 3: Locate and Remove the Old Filter
The next step is locating and removing your existing air conditioner filter. Most units have a removable access panel where you can access the filter—if not, consult with an HVAC technician for advice. Once you’ve found the filter, simply pull it straight out and set it aside.
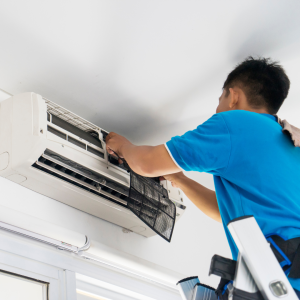
Step 4: Install the New Filter
Now that you’ve removed your old filter, you can install a replacement. Slide the new filter into place and make sure it’s snugly fitted. If necessary, use tape to secure the edges of the filter. Make sure not to block any vents or openings with the new filter!
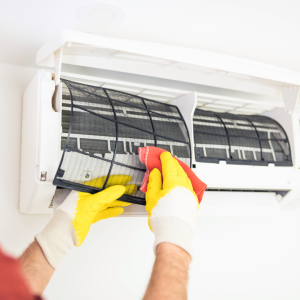
Step 5: Clean Up
Once you’ve successfully installed your new air conditioner filter, it’s time to clean up! Vacuum up any dust or debris left behind in the access panel or on the floor near your unit.
Conclusion
With these simple steps, you’ll be on your way to changing your air conditioner filter like a pro! Remember, it’s important to replace the filter regularly so that your unit can keep running efficiently and effectively. Have any questions about this process? Feel free to reach out to an HVAC professional for more information or advice.